Create Splash Page
Learn how to create a Splash Page.
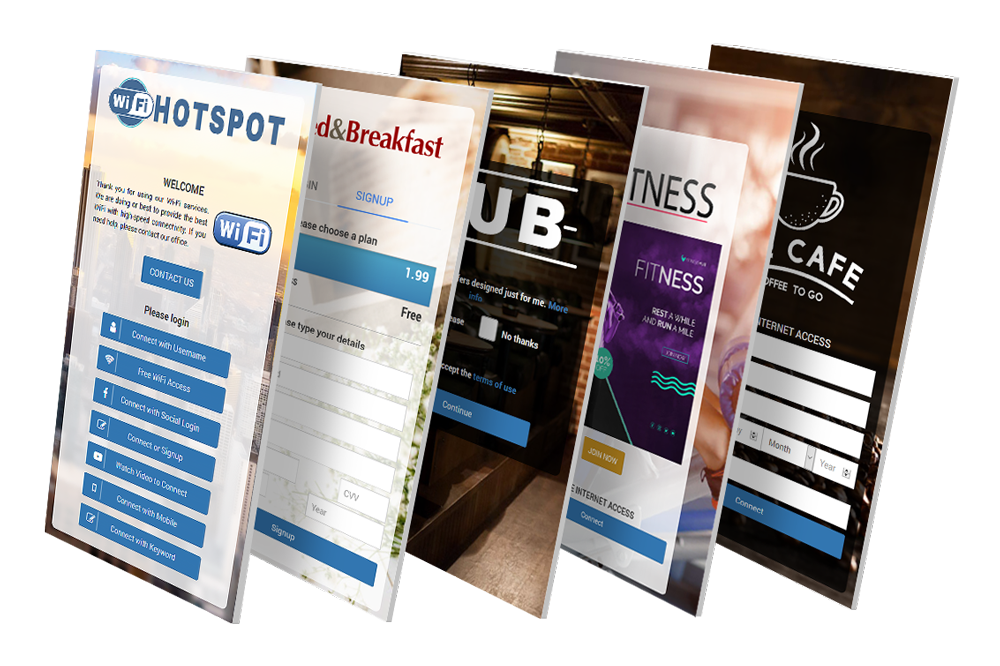
Customize your Splash pages with your own brand, logo, and background image with the easy-to-use page editor.
Easily create a new Splash page using templates and configure how your guests will start an Internet session.
You will set and configure the portal page from the Splash Page panel.
It must look good. You deserve a good first impression.

You can include survey, enforce terms of use, enable social login, or include language selection.
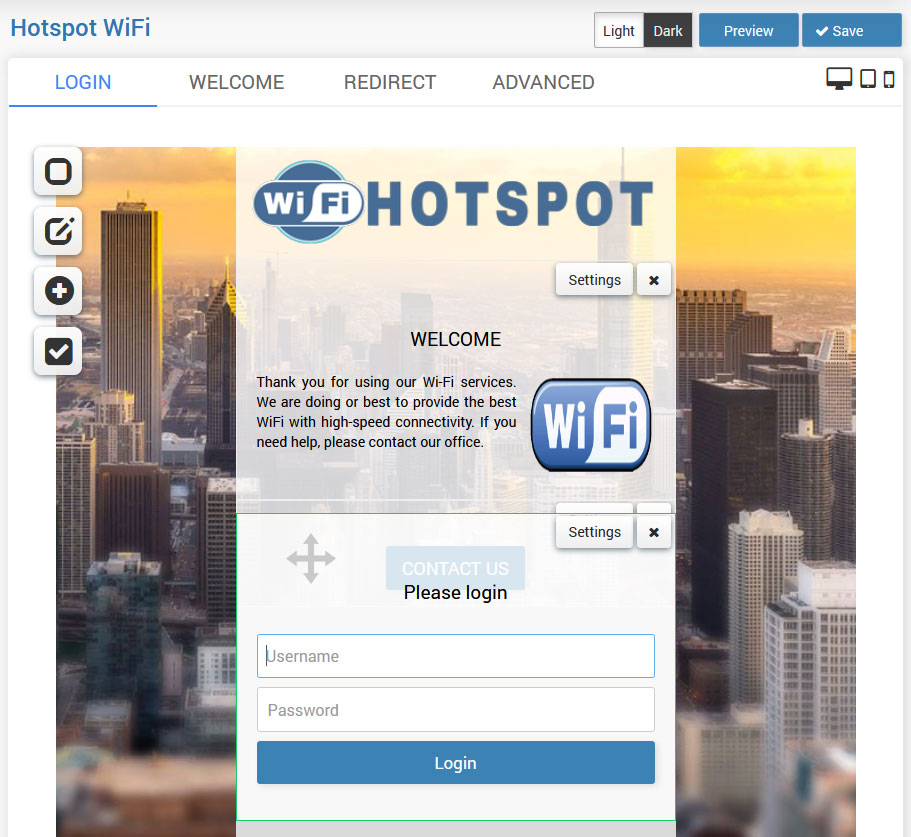
Splash editor is super-simple to use so you can quickly setup nice-looking responsive pages that look good on any device.
You can easily just drag & drop login forms above each other and change their order quickly.
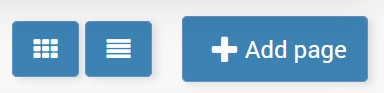
To create a new Splash page, press the + Add page button.
From Page Details, set the Name for a new Splash page and Configure Images for the Background and Logo.
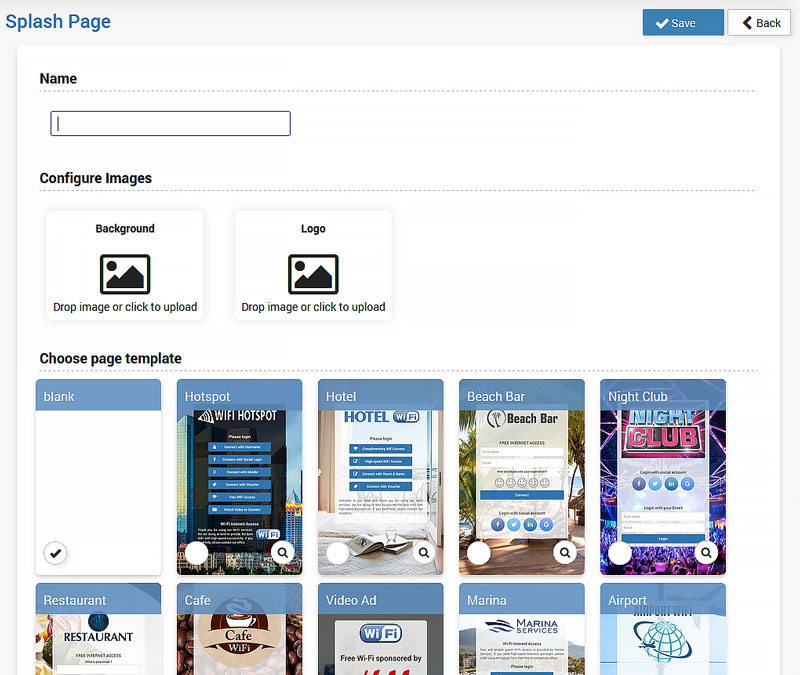
If you wish you can load some of the already configured Page Templates or to press the Continue button and configure it from the start.
The Splash page can be easily modified and set to match your corporate look.
On the Splash Page/Login tab, click the Background & Logo icon and press Upload (if it is not configured yet) or Delete (if already set) and upload desired images.
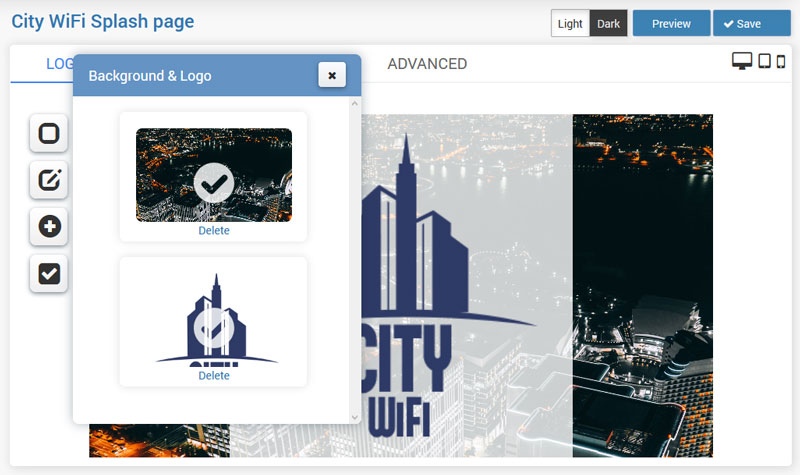
Press on the Save button to apply changes.
It is recommended to use a Logo image with a width of 400 px in PNG format.
Background photo should be 800×800 px or 1000×1000 px max, in PNG format.
Background photo should be 800×800 px or 1000×1000 px max, in PNG format.
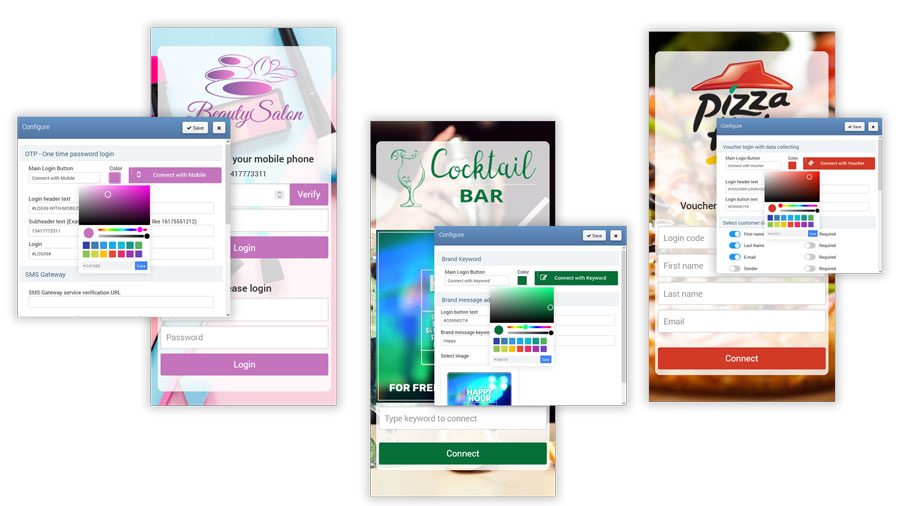
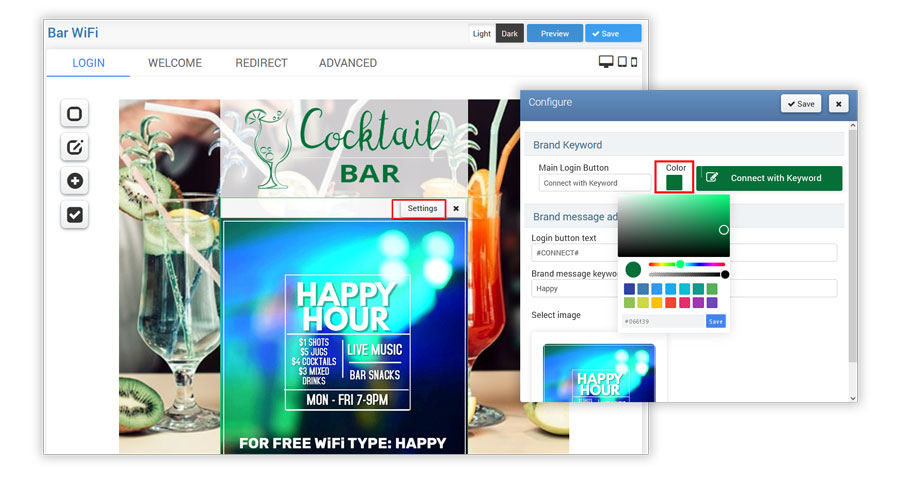
You can easily change the button color schemes of your Splash page for each login method, or you can create your own Splash page color palette from scratch by using the Color changer and matching the color of the buttons with your logo and background design.
To change the button color, go to the Splash page Login method/Settings, click Color, select desired color, and Save changes.
Related Articles
Login forms
Login Forms Splash page Login forms give you basic requirements for standard everyday use. Many combinations can be used over your portal Splash page as a login method. User Login Login method with username and password or login code Free Access ...Features
After configuring the background and logo, specifying the login method, and including elements on the page, you may still need some of the features. From the Features panel, in a couple of clicks, you can enable Survey, Social Networks, Terms of Use, ...Survey
A Customer survey is a great tool for collecting guest data, opinions, and reviews. In order to place the survey on the Splash page enable the Survey feature. From the Survey list select one of the already predefined Surveys from the Surveys section. ...One Time Password
One Time Password based access is a convenient way to collect users’ valid phone numbers which later can be used for marketing purposes. Users will get free access to WiFi based on the code sent to their phone number. When you click on the + button, ...Social Networks
Easily implement free WiFi access with a preferred social network. Your users will start browsing when they login with their social accounts, and you’ll get a name and email to use in your marketing campaigns. To enable it, go to Features and enable ...