
Apply changes to save.
Social Networks
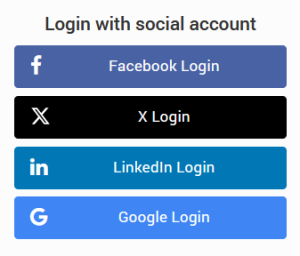
Easily implement free WiFi access with a preferred social network. Your users will start browsing when they login with their social accounts, and you’ll get a name and email to use in your marketing campaigns.
To enable it, go to Features and enable Social Networks.
Click on the Configure button.
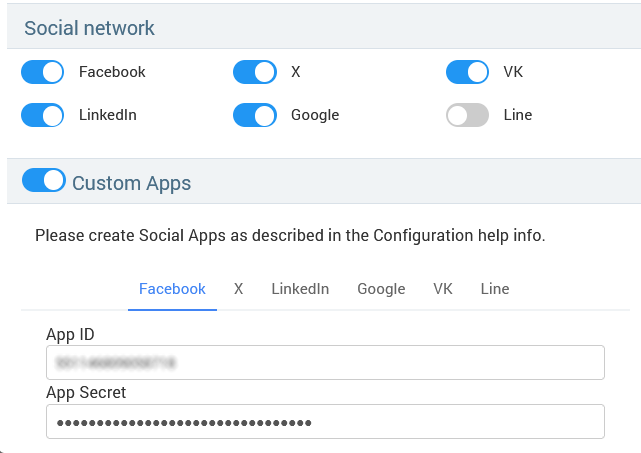
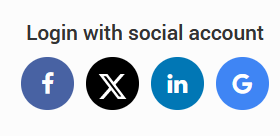
A new window will allow you to select which social media platforms will be enabled.
With included default apps for Social networks, you don't have to create them yourself.
Customization
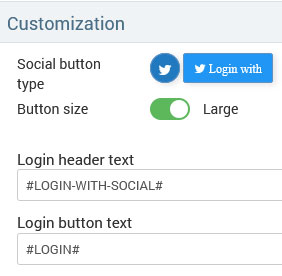
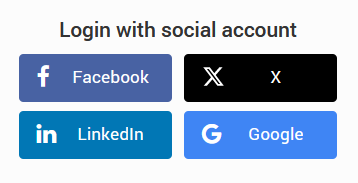
To change login buttons for the social networks please use the following options:
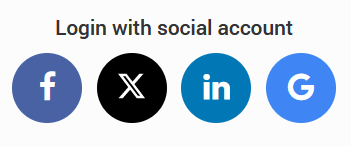
Choose round or rectangle button type and select Large if you prefer larger buttons.
Type the header text, which is placed on top of all buttons, or leave
#LOGIN-WITH-SOCIAL# to auto-translate in the user's language configured on the user device.
If you change it, auto-translate will be disabled and the exact wording will be displayed for all languages. Type a space character if you want to remove all text and auto-translate.
Press on the Save button to apply changes.
If you want to create your own apps for each social network, enable the Custom Apps link and type the required details, such as App ID and App Secret…
To create your own Google API, log in to your Google account, go to Google API Manager, and follow the instructions for making a Google API.
To create your own Facebook API, log in to your Facebook account, go to the Facebook for Developers section, and follow the instructions for creating a Facebook API.
To create your own LinkedIn API, log into your LinkedIn account, go to the LinkedIn Developers section, and follow the instructions for LinkedIn API creation.
To create your own Twitter X API, log in to your Twitter account, go to the Twitter Developer Portal, and follow the instructions for making a Twitter API.
The last step is to add the following domains to the router whitelist for each network you plan to support. Without it, redirecting to the social login will not be possible.
Just so you know, these domains are subject to change depending on the social network setup.
Facebook
LinkedIn
Line
X
Facebook
facebook.com
fbcdn.net
facebook.net
connect.facebook.com
fbcdn.net
facebook.net
connect.facebook.com
LinkedIn
Line
access.line.me
static.line-scdn.net
d.line-scdn.net
profile.line-scdn.net
optout-api.tr.line.me
torimochi.line-apps.com
static.line-scdn.net
d.line-scdn.net
profile.line-scdn.net
optout-api.tr.line.me
torimochi.line-apps.com
X
api.twitter.com
twimg.com
abs.twitter.com
twimg.com
abs.twitter.com
Related Articles
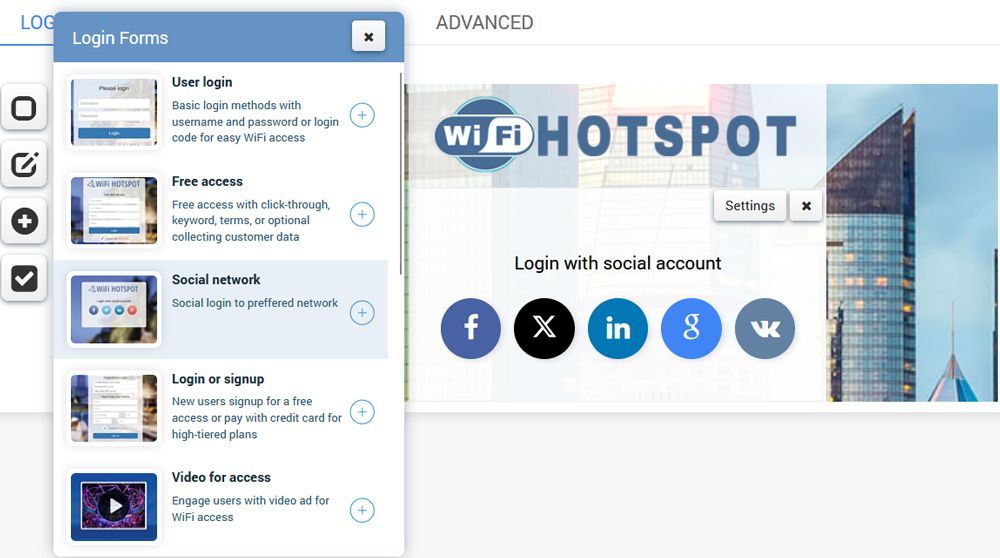
Login forms
Login Forms Splash page Login forms give you basic requirements for standard everyday use. Many combinations can be used over your portal Splash page as a login method. User Login Login method with username and password or login code Free Access ...Features
After configuring the background and logo, specifying the login method, and including elements on the page, you may still need some of the features. From the Features panel, in a couple of clicks, you can enable Survey, Social Networks, Terms of Use, ...Create Splash Page
Learn how to create a Splash Page. Customize your Splash pages with your own brand, logo, and background image with the easy-to-use page editor. Easily create a new Splash page using templates and configure how your guests will start an Internet ...